Share

October 17, 2012

Teal Wedding Decor

Image courtesy of Nxt Lvl Imagery

I had another great opportunity to decorate for a wedding. This time the main color was teal and the bride chose to accent it with orange, yellow, and green. 

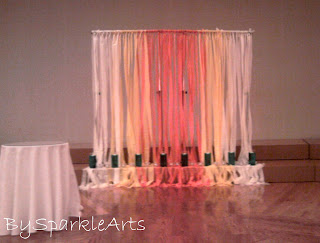
Church altar


Below is a pic of the bride's inspiration for her centerpieces. I tweaked it to work with the budget and the rest of the reception decor centered around this idea.

Hydrangeas and apples
 
Believe or not, sometimes DIY can cost more money than purchasing the original item or hiring a professional to do it. For this wedding, I was curious to see whether DIY wedding decor actually would save money or was just a myth. 

So I break the costs down for you and also show you how to make your own:- 

Felt boutonnières

Yarn spheres

Glitter cake topper

Flower girl baskets 

Bridesmaids bouquets


October 16, 2012

Bridesmaids Bouquets

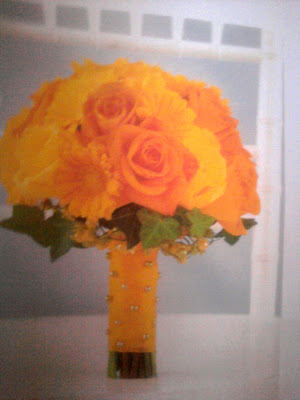
Fresh flowers are so expensive!!!! Jeez!!! So for the teal wedding I had the task of fulfilling the brides vision for the bridesmaids bouquet without breaking the bank.

Bride's vision for bridesmaids bouquets.

The bridesmaids dresses were teal so the orange & yellow bouquets stood out beautifully.

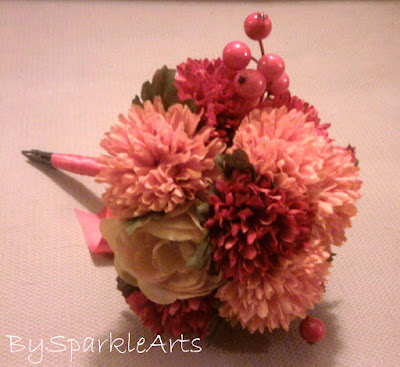
I purchased silk flowers from Michaels at sale price of course. It's Fall so it is the perfect season to get flowers in yellows, oranges, and reds.


Final bouquets:-


Costs
Flowers - $72.50
Ribbon - $7.00

So for about $80.00 I was able to make 7 bridesmaids bouquets. That's about $11.00 for one bouquet. You can't beat that!!

Felt Boutonnierres

STOP!!!!

Slowly move your hand away from that credit card. Don't spend $30-50 on each boutonniere. 

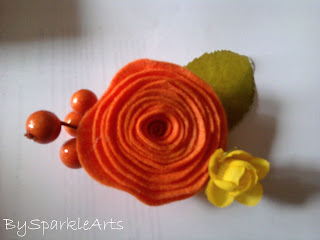
Let me show you a quick and easy way to make boutonnieres for less than $3.00 each. Yes you heard that right!!! Less than $3.00

Step 1: Purchase felt from your craft store. I purchased orange felt from Michaels for 69 cents for each sheet.

While you are at it, go ahead and buy some accent pieces you would like to add to the boutonnieres.  In this case, the accent pieces were silk flowers that I also used in the bridesmaids bouquets, killing 2 birds with 1 stone and saving money. Woot!! Woot!! 


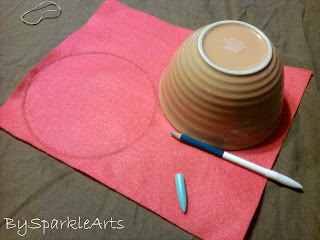
Step 2:  Draw 2 circles on 1 felt sheet. Each circle will make 2 boutonnieres. I used a cereal bowl to draw my circles.


Step 3: Next, draw a spiral form within the circle. It doesn't need to be perfect, just something to guide you.


Cut along the spiral form. Don't throw away the felt scraps. You will need them later.


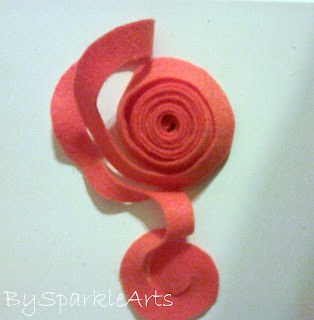
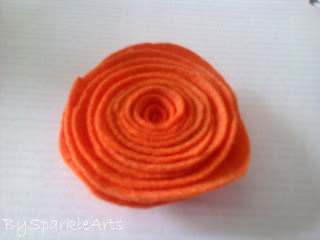
Step 4: Begin rolling the spiral piece starting from the outer edge towards the center. You can see the flower begin to form. It looks different depending on which end you look at it. 

The petals of the loose flower are more defined and the ones in the tight flower and close together. I preferred the loose flower so proceeded with that.


Loose flower
Tight flower

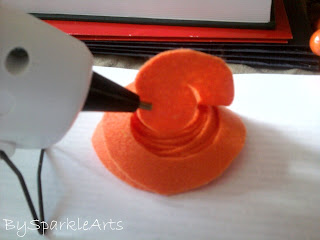
Step 5: Using your glue gun, glue the end of the felt to the bottom of the flower.


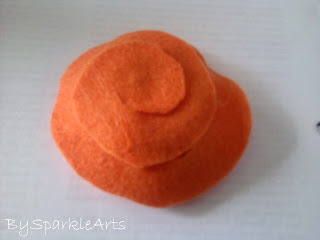
And that's it!!! You have your felt flower.


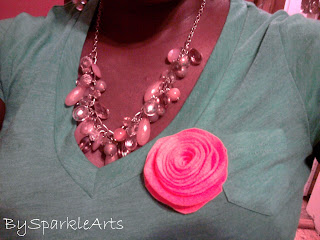
You can use the flower for other things too - brooches, hair accessories etc. 


Step 6: Remember the scraps left after cutting the circles? Cut out a small piece and play around with the placement of your accents until you are satisfied.


Placement of accents
Step 7: Glue your accents to the small piece of felt then glue your felt flower on top of them.


Glue a safety pin to the back


And you have your boutonniere. 


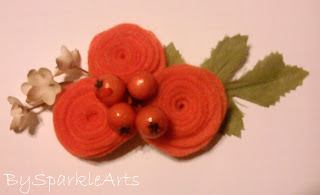
Here is a different variation I made for the bride's father


Step 8: Count your savings. 

Below is the breakdown for each bountonniere:

Each yellow flower stalk was $2.49 and had 3 flowers on it - cost 83 cents/flower. The orange bulbs were cut from a small section of the bigger branch ($11.00 and w/ 50% coupon - $5.50) - cost 61 cents/branch. Each branch made 2-3 boutonnieres so ~30 cents per boutonniere.

 Felt - 35 cents (69 cents per sheet, makes 2)
Yellow flower and leaf - 83 cents
Orange bulb - 30 cents
Glue gun and sticks - had on hand (~ 50cents per stick)

TOTAL - $1.98

SAVINGS - $28-48 per boutonniere

Now if that isn't saving money, I don't know what is :D

Yarn Spheres

I love Pinterest!!! So when I came across these yarn spheres, I just had to incorporate them into the teal wedding decor somehow .

Yarn Spheres
To make your own yarn spheres, here is what you need:-
* Balloons
* Yarn (in color of your choice)
* Glue or paper mache
 
Step 1: Blow up your balloons and tie the ends securely. It's very important to make sure the tie is tight.

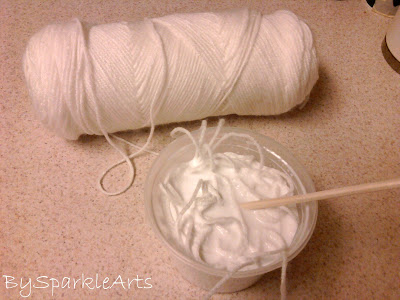
Step 2: In a container, make a thick paste of water and glue with more glue than water.

 
 Step 3: Soak your yarn in the paste


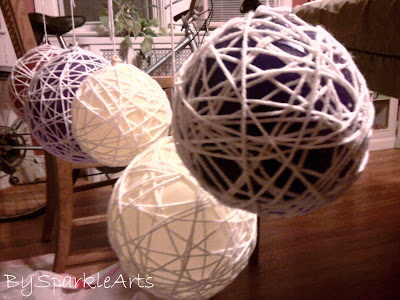
Step 4: Squeeze excess paste from the yarn as you wrap it around the balloon. Start wrapping vertically then around the balloon making sure to fill in as much empty space as possible.

Step 5: Hang the balloons in a well ventilated area to dry. Give them about 24 hours to dry completely. Make sure you place something on the floor (plastic trash bag, turp) to prevent the dripping paste from ruining your floors.


Pic below shows why it is important to tie the ends of the balloons securely. The balloon deflated and the yarn sphere was ruined.

 
If this happens, wet the yarn again in the glue/water paste and wrap it around another balloon.


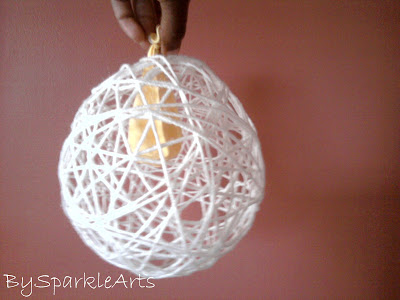
Step 6: Once the spheres dry, gently push the balloon away from the yarn. Some people coat the balloon with vaseline before wrapping the yarn to make this step easier.


Step 7: Pop a hole in the balloon to deflate it.


Step 8: Enjoy your yarn spheres :)

Below is the final centerpiece setup the bride approved of. I placed yellow and orange silk flowers into the yarn spheres to go along with the teal/orange color scheme.


I liked the way the yarn sphere looks through the colored water in the vase.

Centerpiece - vase with tissue paper hydrangeas, yarn pompoms, 
tealight candles, yarn sphere with silk flowers  

At the reception some of the centerpieces had the tissue paper hydrangeas and others just had a floating candle.
 
Centerpiece with floating candle. Image courtesy of Nxt Lvl Imagery
Yellow pompom. Image courtesy of Nxt Lvl Imagery

Image courtesy of Nxt Lvl Imagery 
Costs:
Yarn - $3.00
Glue - 3 bottles @ 2.00 each - $6.00 total

Total - $9.00 for 20 yarn spheres (45 cents per sphere).

It beats buying them at a store. Here is proof...

Glitter Cake Topper

Image courtesy of Nxt Lvl Imagery
A great way to personalize your wedding cake is by creating a cake topper that shows who/what the couple is about. You can use letters, pictures, models of the couple...you name it, you can have it.
For the teal wedding the bride wanted letters of their names. The same technique can be used on wooden letters too.

What you need:
* Construction paper
* Glue
* Lollipop sticks
* Glitter paint (I used Martha Stewart's glitter paint)  
* Letters printed from Microsoft Word in whatever font you like (optional)

Other alternative: glitter hearts created by Paper Pony.

1. I used a straight edge to draw the outline for the letters onto black  construction paper. If you print your letters from Word, trace the letters onto the construction paper.

2. Make 2 sets of each letter (optional). 

3. Paint each letter with the glitter paint and let them dry. For one copy of each letter, paint it on the reverse side. 


As you can see I forgot to paint the reverse side of the letters. So I had to paint the letters again.


4. Glue the non-painted side of the letters onto the lollipop sticks. 

5. Carefully place letters on cake.

What do you think?

Image courtesy of Nxt Lvl Imagery


Image courtesy of Nxt Lvl Imagery

Costs
Construction paper - $1.00
Glue - had on hand
Lollipop sticks - $3.00
Glitter paint - $3.00
Letters - free 

Total - $7.00

Flower Girl Baskets


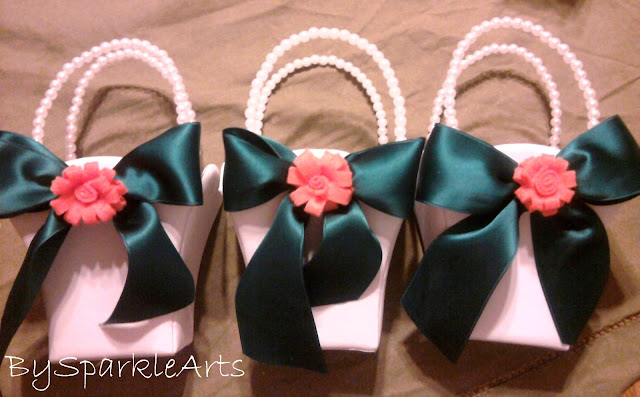
Flower Girl baskets

I purchased the flower girl baskets on Ebay. To make the bow and flower, I used ribbon and felt left over from the boutonnieres. (See post on Felt Boutonnieres)

Tie a regular bow and hot glue it to the basket.

 
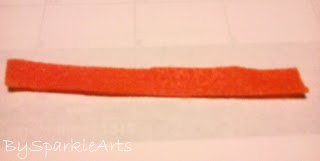
To make the orange felt flower, cut a piece of felt then fold it in half and make notches/cuts halfway through.


Folded felt with notches

Unfolded felt with notches
 
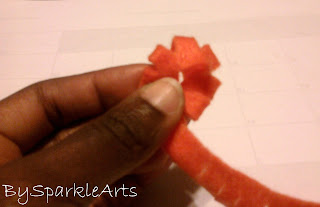
Roll the folded piece of felt to make a flower. Glue the end.


Roll a small piece of felt to make the center of the flower. Glue it to the center of the flower.


Hot glue the flower onto the bow.


Costs
Baskets - $28.00
Ribbon - $1.00
Felt - left over from boutonnieres

Total - $29.00 for 3 flower girl baskets.


AddThis

Related Posts Plugin for WordPress, Blogger...